
10819
Spring Time Turf Rolls
Artificial Grass
Size12' wide
Thickness—
Wear Layer—
Coverage—
Origin—
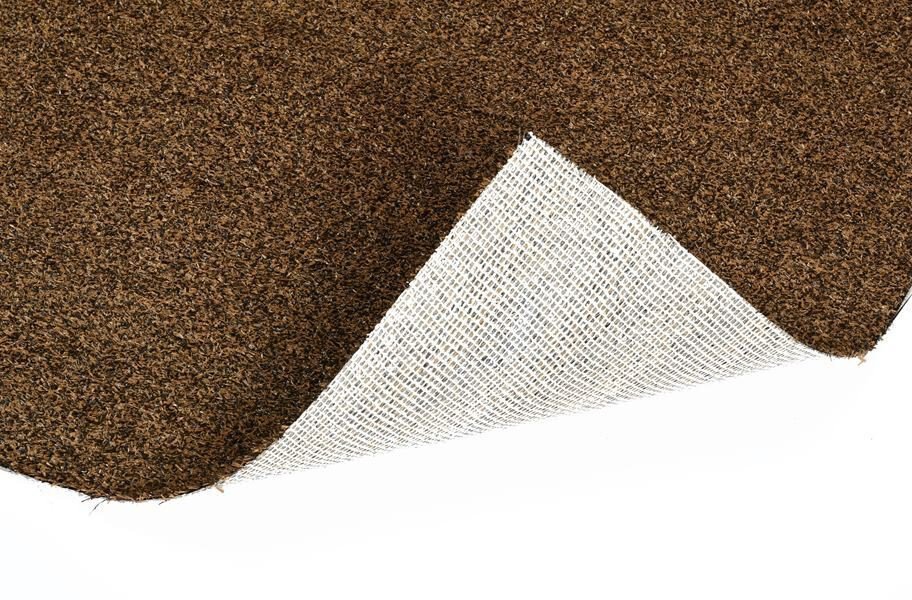
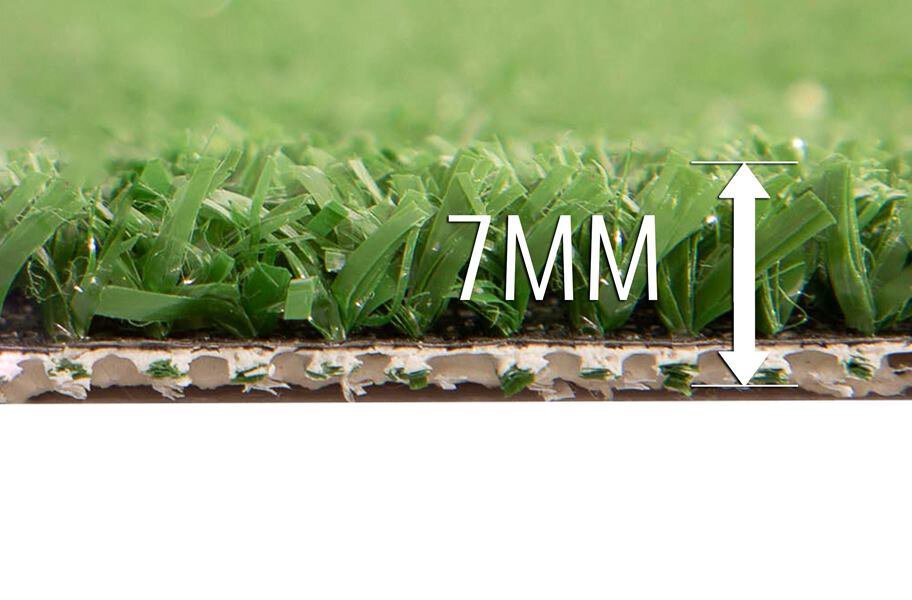
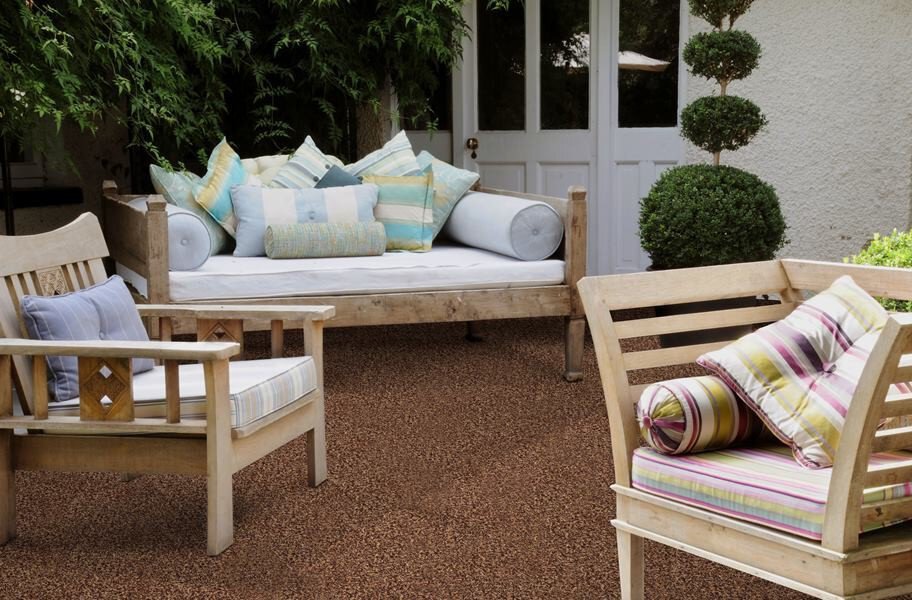
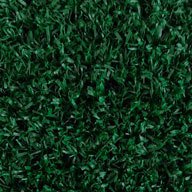
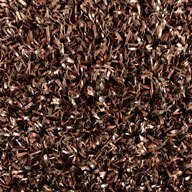
You will have blue skies smiling at you daily with our Spring Time Turf Rolls on your patio, balcony, or rooftop deck. Easy to install and maintain, these fake grass rolls are the perfect doggy potty or puppy training pad for any urban jungle. Easily sanitize our Spring Time Turf Rolls with our Turf Fresh, ensuring your turf will smell fresh and clean day in and day out. A 5-year warranty backs our Spring Time Turf Rolls. Material PP fiber Color Olive/Field Green Width 12' Thickness Approx. 7 mm Face Weight Approx. 10 oz Weight Approx. 0.30 lb per sq-ft. Application Indoor/Outdoor Drainage Yes Length Custom (max. 82') UV Stable Yes Warranty 5 years Heat & Frost resistant Yes
- 1Easy to install and maintain.
- 2Indoor/Outdoor turf.
- 3Mold and mildew resistant.
- 45-year warranty.
- 5Great for patios and rooftop decks.
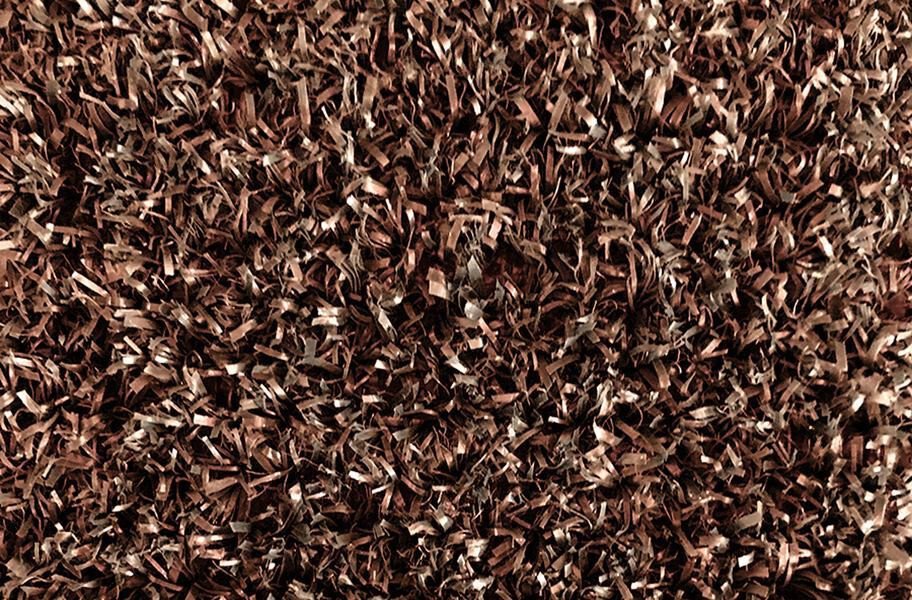
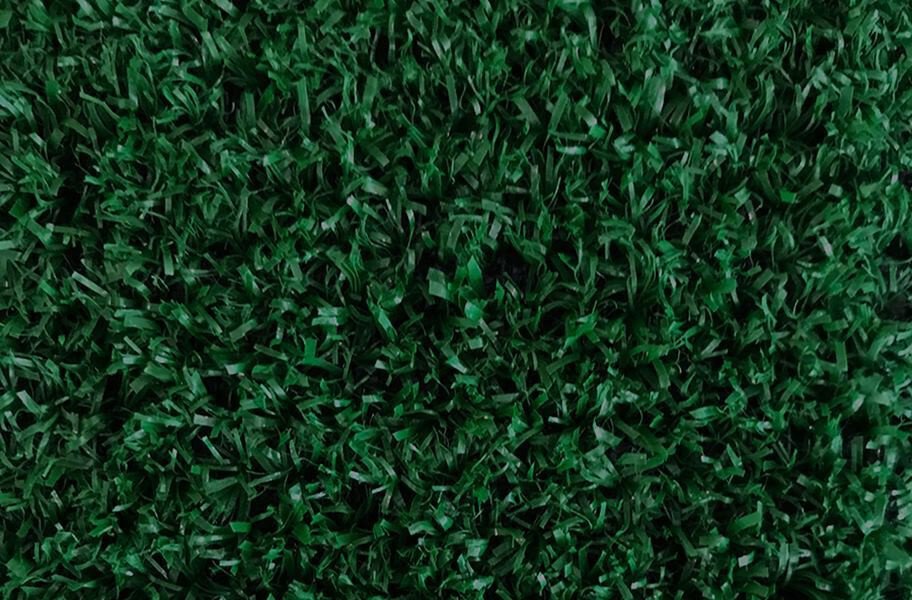
Available Colors (2)
At a glance
- Material
- PP Fiber
- Warranty
- 5 Year Warranty
Categories