13872
ProDesign Drainage Tiles
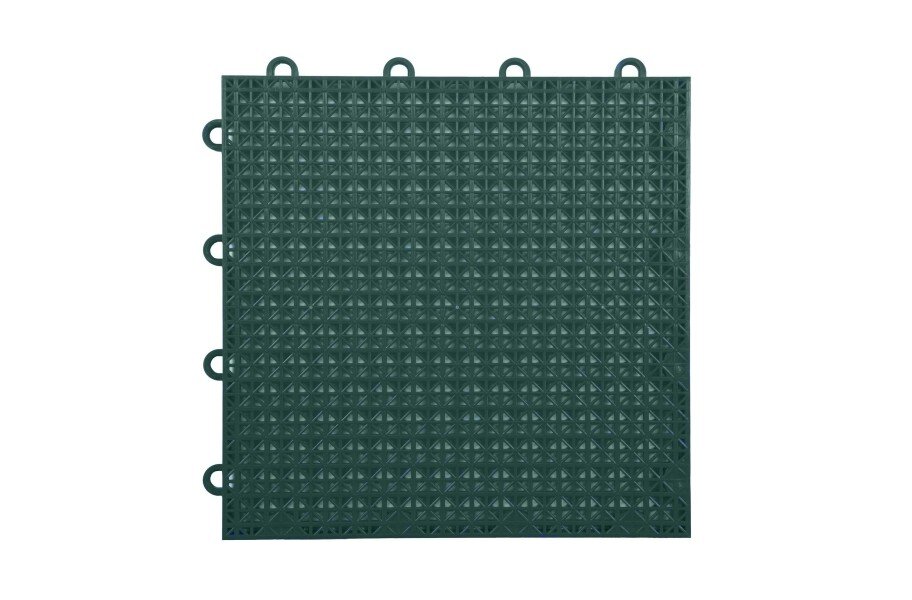
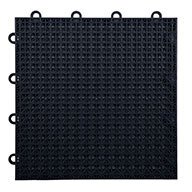
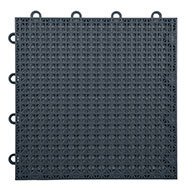
Drainage Tiles
made in usa
Size12" x 12"
Thickness—
Wear Layer—
Coverage—
Origin—
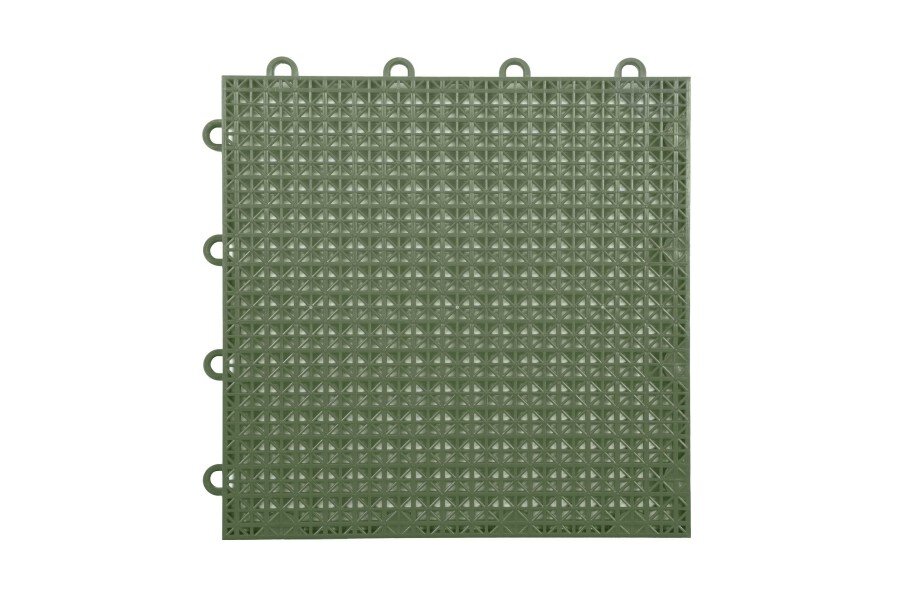
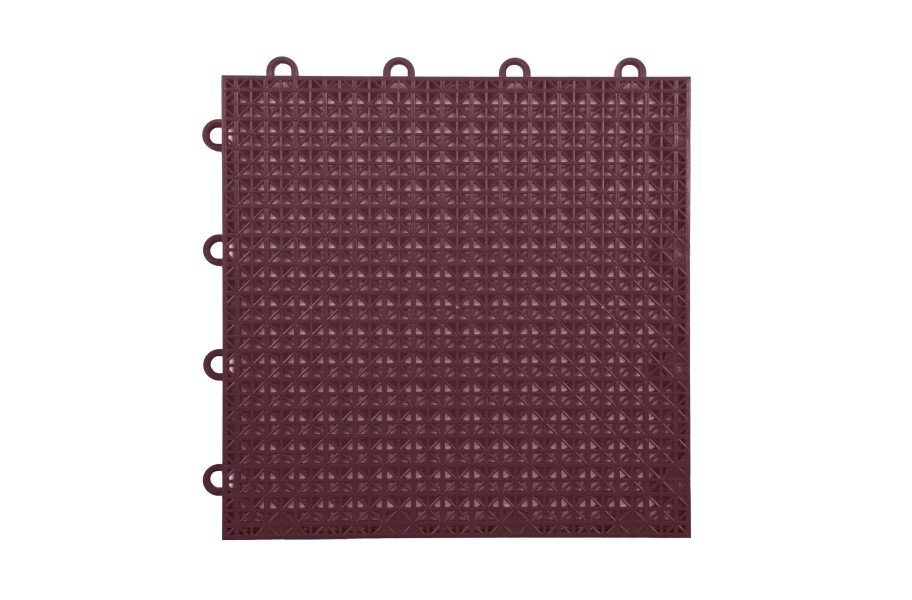
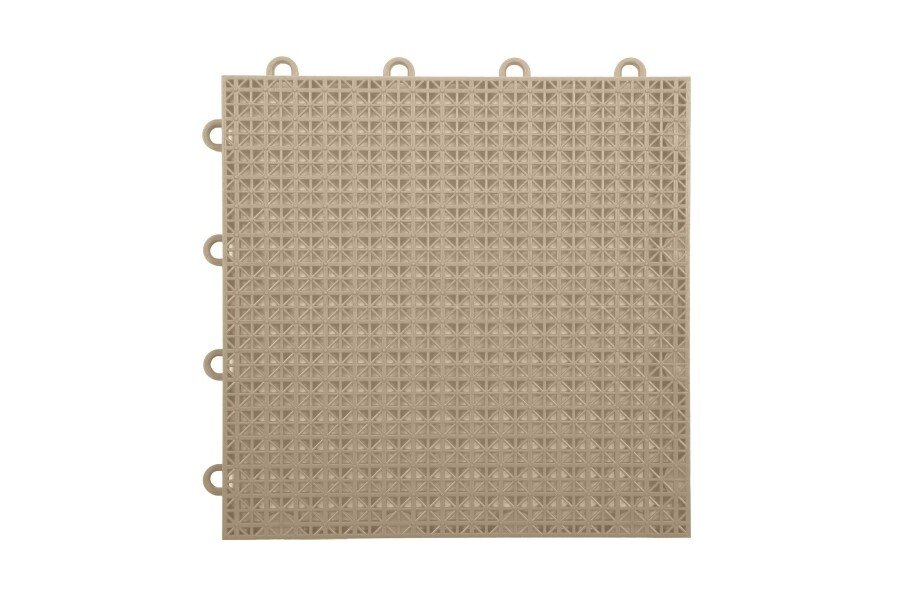
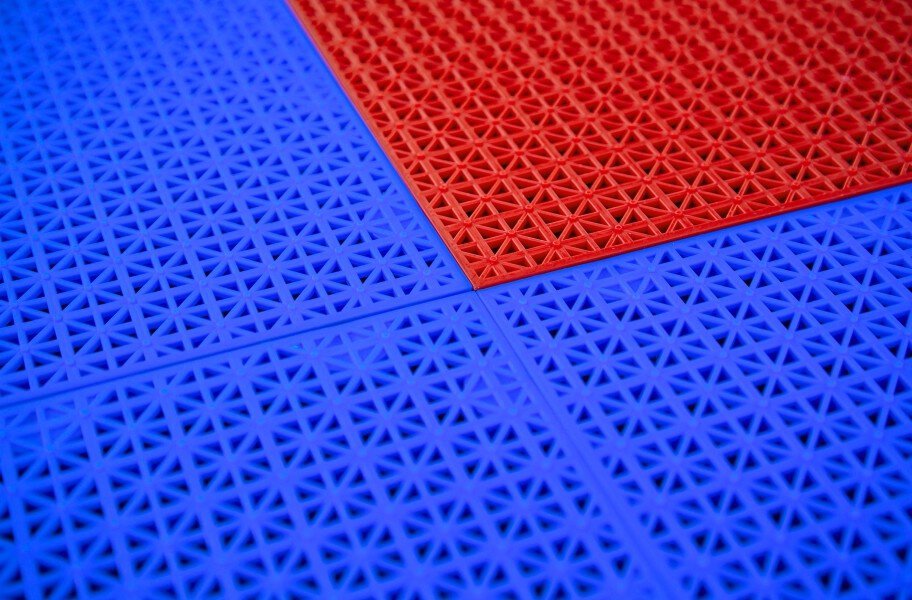
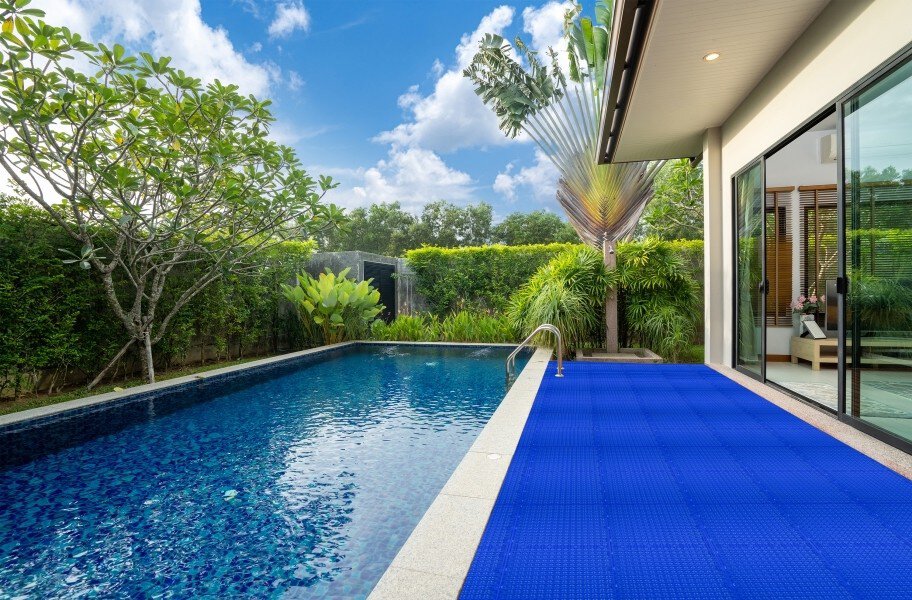
ProDesign Drainage Tiles are the ultimate solution for areas requiring efficient water drainage, indoors or outdoors. Built to handle even the toughest outdoor environments, these durable interlocking tiles are designed to perform under pressure while maintaining a sleek, functional look.
With their open-grid design, ProDesign Drainage Tiles allow water to flow through seamlessly, keeping surfaces dry and safe. The easy-to-install interlocking system makes them a convenient, DIY-friendly option for patios, pool decks, locker rooms, shower areas, and more.
Whether you're upgrading an outdoor space or enhancing indoor wet areas, ProDesign Drainage Tiles combine durability, practicality, and style to deliver a reliable flooring solution.
- 1Slip-resistant even when wet.
- 2Great outdoor patio/deck flooring.
- 3UV stable.
- 4Easy to install, clean, and maintain.
- 5Indoor/Outdoor.
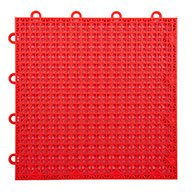
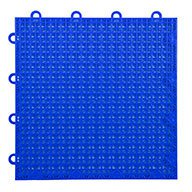
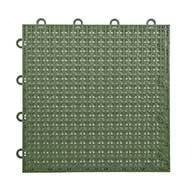
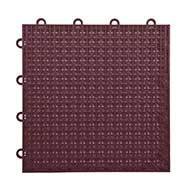
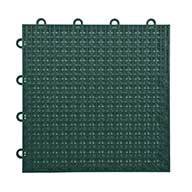
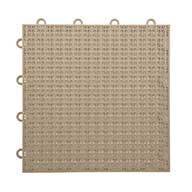
Available Colors (8)
At a glance
- Material
- Polypropylene
- Warranty
- 10 Year Warranty.