8465
Summer Rye Turf Rolls
Artificial Grass
made in usaeasy to cleaneco friendlyhigh traffic
Size15' wide
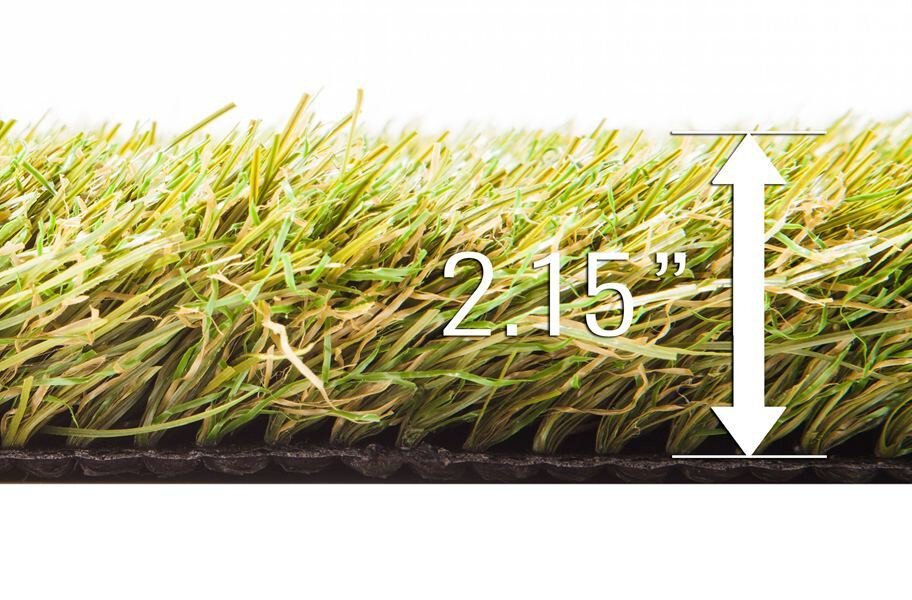
Thickness—
Wear Layer—
Coverage—
Originmade_in_usa
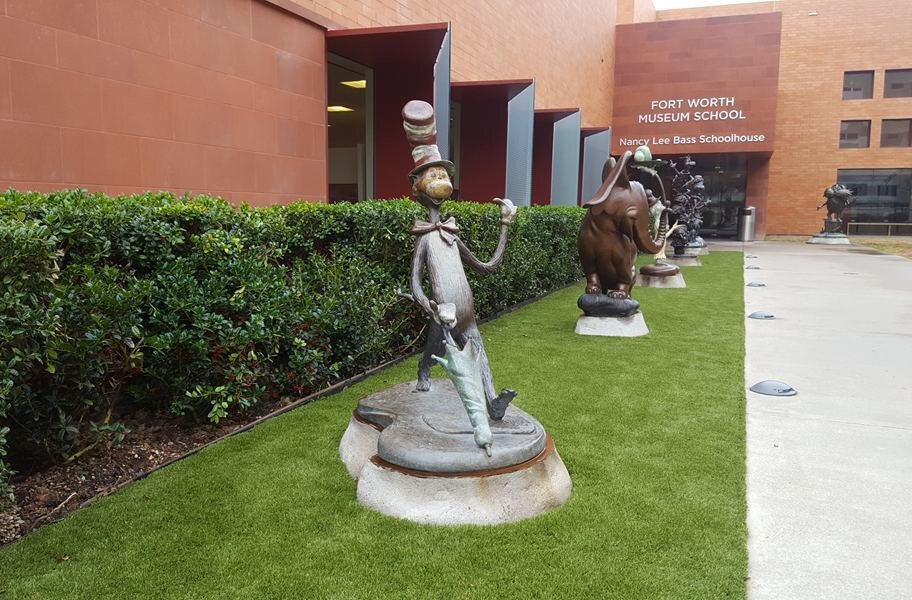
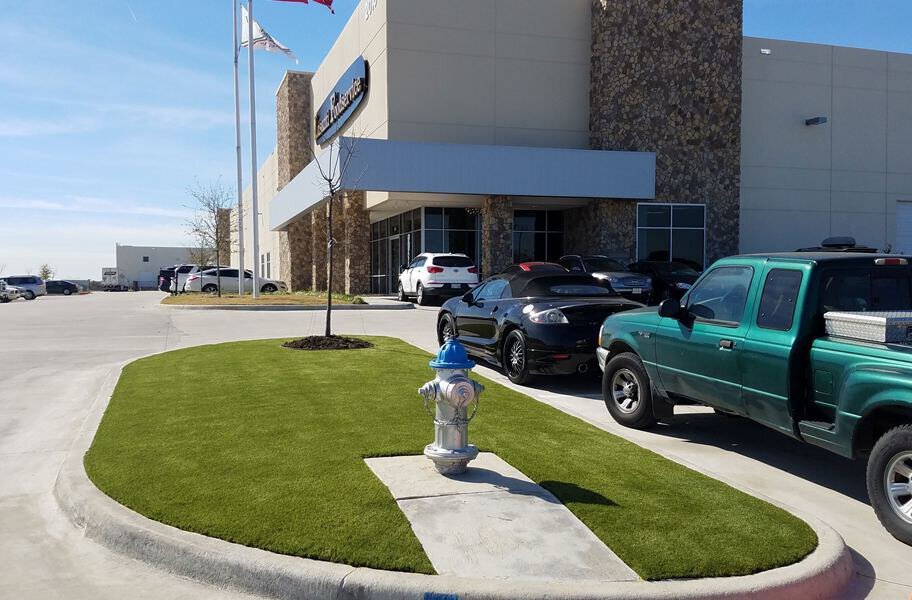
Our Summer Rye Turf Rolls give you the look and feel of real grass without all the comittment to maintanence that comes with a natural grass landscape. Summer green all year long, and resistant to heat and frost, this eco-friendly artificial grass is the perfect alternative to natural grass in any climate. Easy to clean and maintain, this artificial turf is UV stable, meaning it will not fade in direct sunlight. Made in USA, our Summer Rye Turf Rolls are backed by a 10 year warranty.
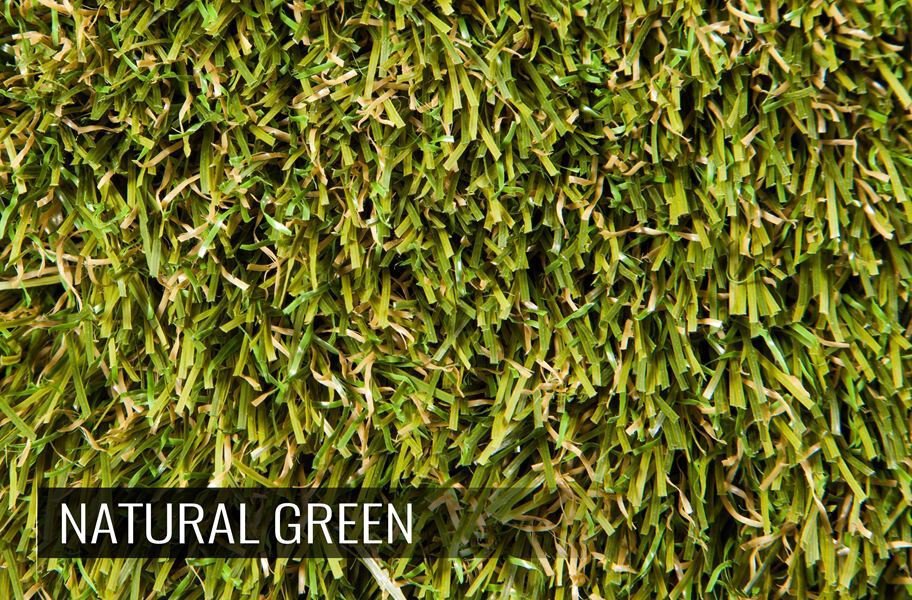
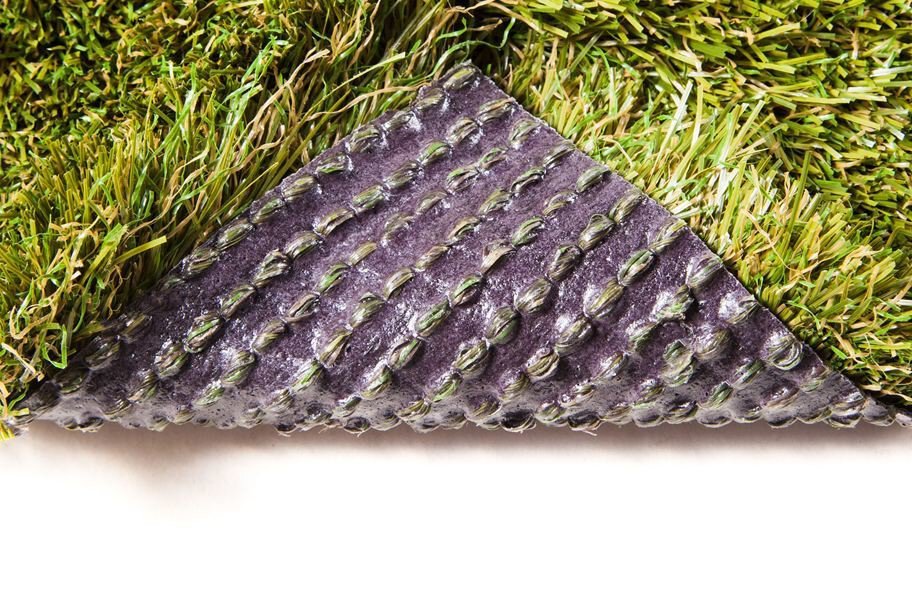
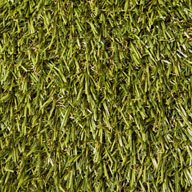
Material: PE fiber with thatch. Color- Natural Green.
Width: 15'. Thickness Approx- 2.15" . Face Weight Approx-60 oz. Weight rox- 0.62 lb per sq-ft.
Length: Custom (max. 100'). UV Stable- Yes.
- 1Great natural grass alternative for any climate.
- 2UV stable, heat & frost resistant.
- 3Perforated for proper drainage.
- 410-year warranty, made in the USA.
- 5Easy to clean and maintain.
Available Colors (1)
At a glance
- Material
- PE Fiber with Thatch
- Warranty
- 10 Year Warranty
- Origin
- made_in_usa